Sunday, February 22, 2015

Samoa Sheet Cake

http://becausechocolate.blogspot.com/p/recipes_9.html?recipe_id=6070796

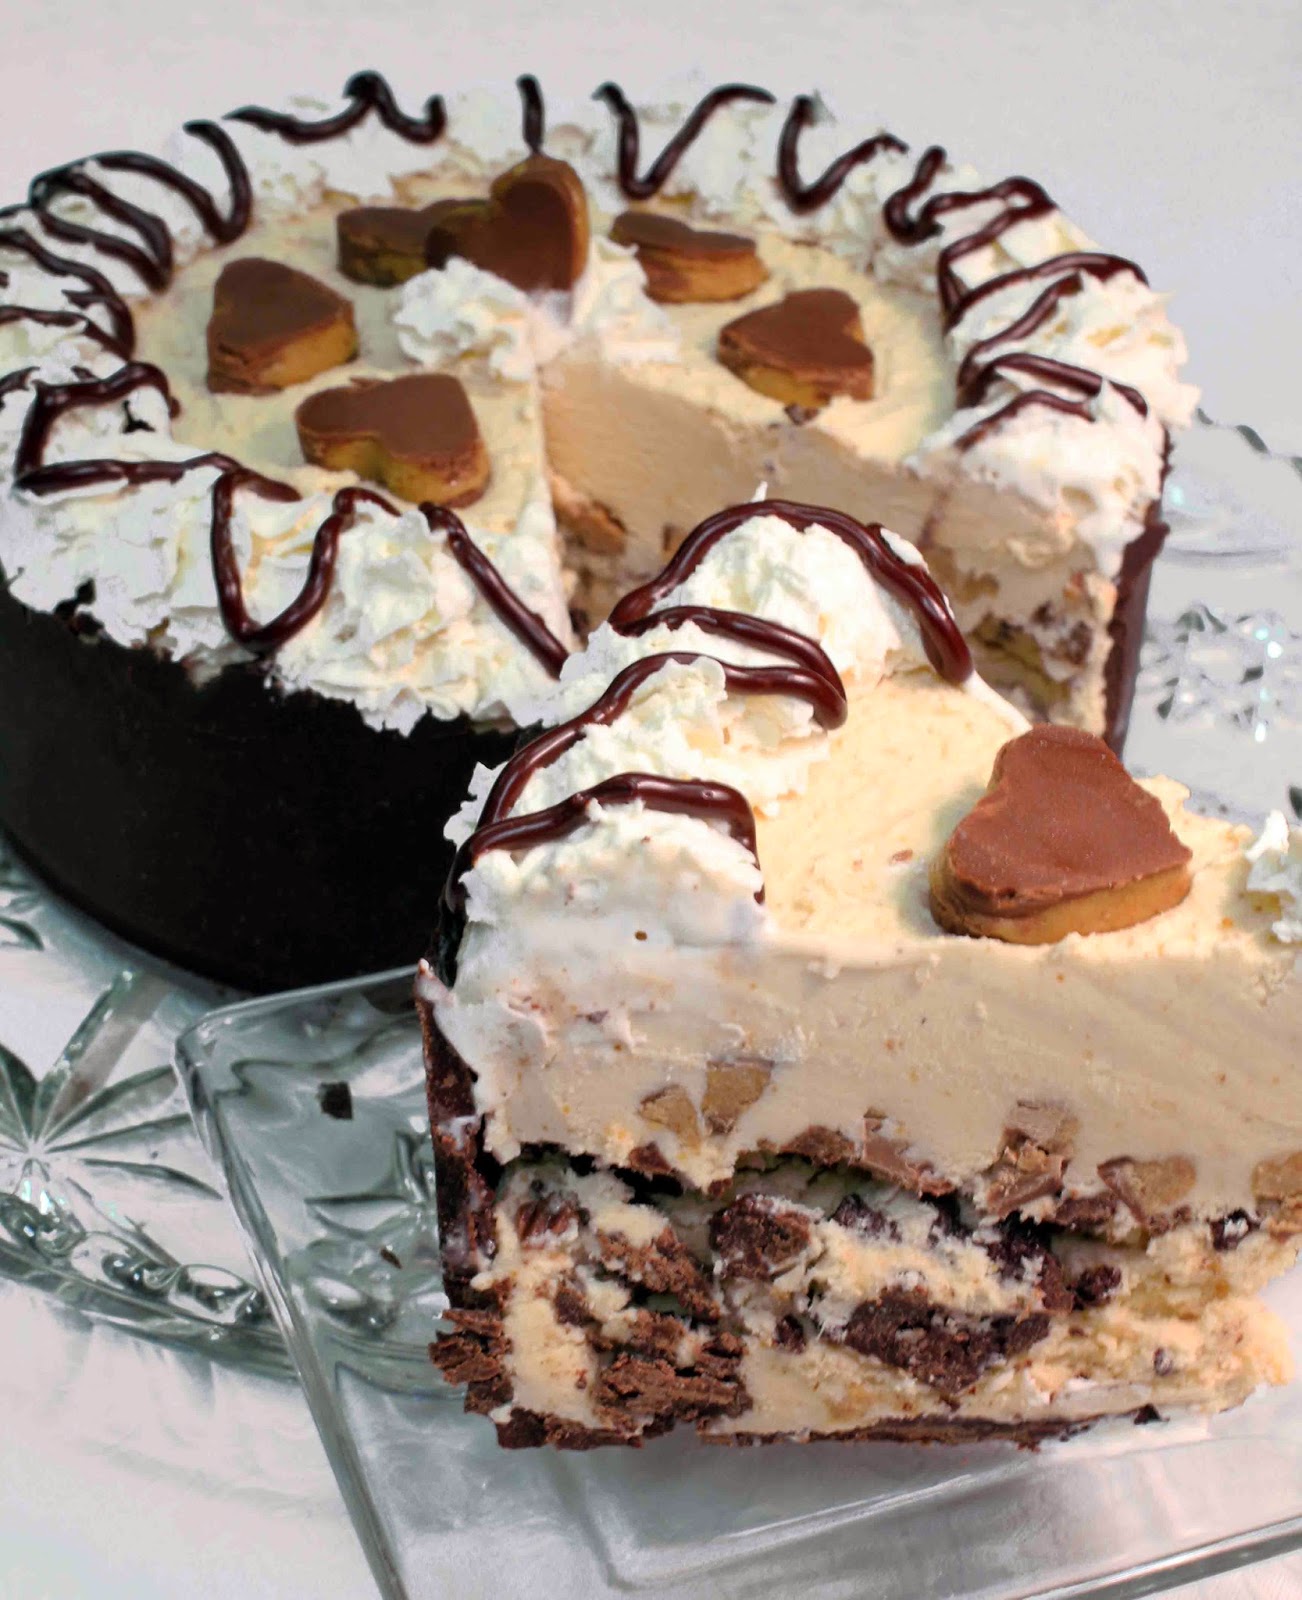
Girl Scout cookie season is upon us.  I saw my first pre-order post on Facebook yesterday.  Delivery, however, will not be until March 20th.  Imagine my distress.  Luckily, this year I have a cure for the month long wait ahead.  This cake is as every bit as delicious and decimating to the diet as the Samoas that the Girl Scouts unleash upon us every year.  I came across a recipe for this amazing dessert last week, but there were several things about it that I needed to change in order to make it suit my culinary convictions.  If you're looking for fast and easy, here's a link to the original recipe.  If you despise microwaves, shortening, pre-made caramels, caramel ice cream topping from a jar, and the sickly sweet flavor of sweetened flaked coconut, read-on.  This recipe is for you. (I recommend making the caramel sauce in advance, if you need to break up your time in the kitchen.) 

Cake
  • 2 cups flour
  • 2 cups sugar
  • 1 cup butter
  • 1 cup water
  • 4 Tablespoons cocoa
  • ½ cup buttermilk
  • ½ teaspoon baking soda
  • 2 eggs
  • 1 teaspoon vanilla
Frosting
  • ½ cup butter
  • 6 Tablespoons milk
  • 2½ cups powdered sugar, sifted
  • 1 teaspoon vanilla
  • ⅛ cup caramel sauce, recipe below
Toppings
  • 2½ cups toasted dessicated coconut
  • the remainder of the caramel sauce you made for the frosting
  • 8 oz melted milk chocolate (I use Callebaut Belgian milk chocolate)

DIRECTIONS
  1. Toasting the coconut:  Spread the dessicated coconut out evenly on an 18 x 13 x 1 inch cookie sheet and bake at 375 degrees F for 10 minutes, checking and tossing coconut regularly, every 2-5 minutes, to make sure all the coconut gets toasted evenly and does not burn. Coconut is done when it is golden brown.
  2. In a large mixing bowl, combine the flour and sugar. Set aside.
  3. In a medium sauce pan, combine butter, water, and cocoa. Bring to a boil. After mixture reaches a boil, add it to the flour mixture and stir to combine.
  4. Add buttermilk, then baking soda, then eggs and vanilla in that order, mixing between each addition.
  5. Pour into a greased 18x13x1 inch cookie sheet and bake at 400 degrees F for 20 minutes.

Frosting
  1. In a medium saucepan, combine butter and milk and bring to a boil. Stir in 1/8 cup caramel sauce (recipe below) and then add powdered sugar and vanilla and stir until smooth.
  2. After the cake has been baked, remove it from the oven and poke holes in the hot cake with a fork. Pour frosting evenly over the entire cake. Immediately sprinkle the toasted coconut over the warm frosting.

Toppings

Drizzle the remainder of the caramel sauce over the toasted coconut laden cake.  In a glass bowl, set over a pan of simmering water, melt the chocolate, stirring constantly.  Drizzle the melted chocolate over the caramel.  Allow the chocolate and caramel to set before serving. 


Caramel Sauce

  • 2 cups sugar 
  • 1/2 cup water 
  • 1 cup heavy cream
  • 1 vanilla bean, split in half lengthwise
  • 2 teaspoons freshly squeezed lemon juice
  • 2 tablespoons unsalted butter 
  • 1 teaspoon fleur de sel (sea salt) 

DIRECTIONS
  1. Combine sugar and 1/2 cup water in a 2-quart saucepan set over medium heat. Without stirring, cook mixture until dark amber in color, swirling the pan carefully while cooking, about 20 minutes.
  2. Reduce the heat to low. Slowly add cream, stirring with a wooden spoon. Scrape the vanilla seeds into the pan, and add the pod. Add lemon juice, butter, and salt. Stir to combine.  Remove the vanilla pod before pouring into a glass jar.
  3. Cover, and store, refrigerated, up to 1 week. Bring sauce to room temperature, or warm over low heat, before using.

Monday, August 25, 2014

Fleur de Sel Caramels

http://becausechocolate.blogspot.com/p/recipes_9.html?recipe_id=6065652

The county fair is this week.  I always enter something, whether it be a craft item or something tasty.  The anticipation of possibly getting a fancy ribbon is largely appealing to me, like buying a lottery ticket and waiting three, hope-filled days to see if I've won.  But mostly, the fair is an opportunity for free, objective criticism.  Since quality criticism always leads to a better final product, I just can't resist the temptation to have my creations hacked to bits by the locals. 

This year I'm entering my Fleur de Sel caramels.  The rules state that each piece must be 2 inches by 2 inches, so these are giant.  I wouldn't normally make them this size because just looking at a piece makes my dentist appear in holoform beside me, arms crossed, shaking his head in disapproval.  That said, these caramels are worth the risk, just so long as you brush and floss immediately after eating them.  

The caramel here is soft and melty, with a perfect hint of salt amongst the sweet.  Dipped in Belgian milk chocolate and sprinkled with Fleur de Sel, these caramels are essentially little squares of all things heavenly.  


http://becausechocolate.blogspot.com/p/recipes_9.html?recipe_id=6065652

Fleur de Sel Caramels
(Makes 64 one-inch caramels)

1 1/3 cup heavy cream
2 cups granulated sugar
6 2/3 ounces light corn syrup
6 tbsp butter, cut into small pieces
1 tsp vanilla extract
3 tsp sea salt, such as fleur de sel
1 lb Belgian milk chocolate, chopped

Line an 8 x 8 pan with parchment paper.  

Place the cream in a large saucepan over medium-high heat and bring it to a boil.  Stir in the sugar and corn syrup and continue stirring until it begins to boil.  Every now and the wipe down the sides of the pan with a pastry brush dipped in water to prevent sugar crystals from forming. 

Cook the candy, stirring occasionally, until it reaches 257 degrees on a candy thermometer. 

Remove the pan from the heat and immediately stir in the butter, vanilla, and 2 teaspoons of the salt.

Pour into prepared pan and let set at room temperature until firm enough to cut.

Cut the caramel into squares with a buttered knife.

Temper the chocolate and dip the caramels one at a time.  Place them on a baking sheet covered with waxed paper, or parchment until set.  While the chocolate is still wet, sprinkle on the remaining salt and allow to set completely. 


Wednesday, August 13, 2014

Key Lime Pie


http://becausechocolate.blogspot.com/p/recipes_9.html?recipe_id=6065415

It feels like this has been the year of Key Lime pie.  It made its first appearance in March, and then it graced the table at Easter shortly thereafter.  Since then, it has seen many potlucks, birthday parties, and girls' night events.  When a dessert is this delicious and easy to make, it's hard to resist the temptation to become a one-hit-wonder. 

This pie is smooth and creamy with a refreshing tang that makes summer sunshine, ice cold lemonade, and all things fresh and glorious rush straight to mind.  It is an understatement to say that I love it.  And of course, I love all the adoring compliments and sighs of culinary delight that follow when I share it with others. 

Key Lime Pie

Crust:
1 1/2 cups (135 grams) graham cracker crumbs
6 Tablespoons butter, melted
1/3 cup (65 grams) granulated sugar

Filling:
4 ounces cream cheese (only full fat cream cheese will work), softened to room temperature
4 egg yolks
14 ounce can sweetened condensed milk (again, only full fat)
1/2 cup fresh squeezed lime juice
zest of two limes

Topping:
1 cup heavy whipping cream
2 rounded teaspoons confectioner's sugar
1/4 teaspoon pure vanilla extract

Preheat oven to 350 degrees.  In a food processor, blend the sugar and graham crackers until they are resemble a crumb texture, pour the melted butter through the processors top opening and pulse until the crumbs are moistened.  Press the crumbs up the sides of the pie plate and then press the rest onto the bottom.  Bake the crust for 12 minutes.  In the meantime, prepare the filling.

In a stand mixer, beat the cream cheese on high speed until smooth.  Beat in the egg yolks, scraping down the sides as needed.  Beat in the sweetened condensed milk, lime juice and lime zest until combined.  Pour into the warm crust.

Bake for 16-18 minutes, or until the sides are very lightly browned.  The center may slightly jiggle, and that's to be expected.  Allow the pie to cool on a wire rack for 30 minutes.  Transfer to the refrigerator and chill for at least four hours before slicing.  The pie should be served chilled.  It will keep in the refrigerator, covered, for up to three days.  

Before serving, decorate with whipped cream, and a lime slice.  Only use real whipping cream that has been whipped with a bit of confectioner's sugar and a very small amount of vanilla.  Do NOT use a whipped cream dispenser.  I have found that method produces whipped cream that does not hold it's shape for more than a few minutes.    


*Printable Recipe*


Monday, August 11, 2014

Grand Marnier Plum Sorbet

http://becausechocolate.blogspot.com/p/recipes_9.html?recipe_id=6061546

This year our Shiro plum tree went crazy.  It's branches were so loaded down, I was at my wit's end to figure out what to do with them all.  A person can only eat so many plums, you know.  I couldn't stand the thought of making any more jam, since I'd just finished canning tons of raspberry and apricot jam, so naturally my thoughts turned to dessert.  Not just any dessert would do, though.  It's hot here.  Really hot.  It's supposed to be 103 degrees today.  Sorbet with a little something to take the edge off...  Perfect, says I. 

The best way I can describe this sorbet is that it tastes like a deliciously smooth margarita.  Only wayyyy better.  Way, way, better.  The Grand Marnier really brings out the flavor of the plums and though I'm not a fan of sorbet, or even plums to be honest, this recipe has changed my mind about both.  I'll be looking forward to plum season from now on--rather than begging people to come by and take them off my hands.

The recipe itself couldn't be simpler.  Pick about 8 pounds of plums and remove their pits (this should leave you with just about 5 pounds of pitted plums).  Yes, this is a total pain, worst part of the project.  I slice the plums in half and rip out the pits by hand.  If there's an easier way, please tell me in the comment section.


Grand Marnier Plum Sorbet 
(makes about 1 gallon and 1 quart)

5 pounds of yellow plums, pitted
1 1/2 cups organic evaporated cane juice (sugar)
1 cup water
1/2 cup Grand Marnier

Put the water and sugar in a stock pot and bring to a boil over medium high heat.  Add the pitted plums and cook for 6-8 minutes, until they are softened.  Remove from heat and place the pot in an ice water bath to cool the mixture quickly.  Add the Grand Marnier and then working in batches, puree the mixture in a blender until smooth.  Refrigerate until cold (overnight works best for me, I have patience issues).

Once the mixture is completely cold, process it in an ice cream maker according to manufacturer's directions.  I ended up using all three freezer bowls for my Cuisinart ice cream makers.  This recipe makes about a gallon and a quart of sorbet.  Store in the freezer, and try not to enjoy too much of it at once. 

*Printable Recipe*


Thursday, March 20, 2014

Tangy Avocado Deviled Eggs

http://becausechocolate.blogspot.com/p/recipes_9.html?recipe_id=6061543

I've been seeing pins of Avocado Deviled Eggs everywhere, so naturally I had to see what all the fuss was about.  I tried a few different recipes, since my husband requested that I make them four times in the last two weeks.  Deviled Eggs, being as endlessly adaptable as they are, left me plenty of room to exercise my creative freedom.  In the end, I decided to take my favorite flavors from each recipe and combine them into what you see here.  Fresh, tangy, Dr. Seuss lookin', super yum snackins' that are far healthier than my usual fare.

For the ultimate in healthful, fresh flavor, I use homemade mayonnaise.  It takes five minutes to make a jar that will last for two weeks.  You can use store bought mayo, but the finished product is not as tangy and delicious.  Plus, store bought mayonaise has disodium calcium EDTA in it, which is a salt form of ethylenediaminetetraacetic acid. The process of manufacturing this food ingredient starts with the synthesis of EDTA. Ethylenediaminetetraacetic acid is made from the chemical reaction of ethylenediamine, formaldehyde, and sodium cyanide. The salt form of EDTA is synthesized by the addition of calcium and two sodium ions.  ...so regardless of whether or not the FDA says it's ok to munch on, I'm just going to take a pass for me and my family.  

Off my soap box and into the kitchen I go...

Mayonnaise Recipe

(Makes about 1 quart)

2 eggs 
1/2 TBS French Dijon mustard
1 TBS fresh lemon juice
1 TBS white vinegar
1/4 tsp salt
2 cups vegetable oil

In a one-quart canning jar, combine all of the ingredients except the oil.  Using an immersion blender with a whisk attachment, whisk until the mixture is completely combined.  Whisking continuously, pour the oil into the mixture in a very slow, steady stream.  Put a lid on the jar and store for up to two weeks in the refrigerator.  


Now that you've got that step out of the way...

Avocado Deviled Eggs

(Makes 24 deviled eggs)

1 dozen eggs
1 large avocado
1/4 cup (56 grams) mayonnaise
the juice of half a large lime (about 4 1/2 teaspoons)
1/4 tsp garlic powder
1/4 tsp ground red pepper
1/2 tsp salt
1 tsp minced garlic

Paprika for sprinkling (optional)

Hard-cook your dozen eggs.  Once the eggs are completely cooled, peel them, and slice them in halves.  Place the whites of the eggs on a platter or in an egg container.

Place the egg yolks in a bowl, along with all the remaining ingredients (except the paprika) and mash, either with a fork or a potato masher.

Once the mixture is completely combined and fairly smooth, fit a decorating bag with a 1M tip.  Fill the bag with the avocado mixture and pipe into the egg whites.  Sprinkle with paprika for a little color.    
   

Now make sure you set aside a few for yourself, because these disappear fast!

Friday, March 14, 2014

Black Bottom Peanut Butter Cup Ice Cream Cake

http://becausechocolate.blogspot.com/p/recipes_9.html?recipe_id=6061312

Just when you think peanut butter and chocolate can't get any better, they go supernova!  Among my family and friends, this black bottom peanut butter cup ice cream cake is by far the most requested dessert for any occasion.  This week I was asked to make it as a celebration for my son's musical achievement.  His school has a karate approach to teaching kids how to play the recorder.  My son was the first in his class to receive his black belt.  As a result, he won a giant Hershey's bar from his teacher.  But still, he needed cake...  The boy is his mother all over again.

The deeply rich chocolate flavor of this cake's crust, combined with the pure, creamy heaven that is homemade peanut butter ice cream, will leave you staring at your fork in that dreamy, food-love haze that only comes from eating the best of the best.  Personally, I like to call this haze 'The Plane of Bliss.'  And there is absoluetly no place I'd rather be. 

To enter this plane for yourself, you'll need to start by making enough ice cream to fill a 9-inch round springform pan.  If you're a planner, make the ice cream base a day in advance.  If not, make an ice water bath to place your bowl of ice cream base in to chill.  A well-chilled base is important when it comes to making ice cream.  

*OR*  you can skip this step entirely by purchasing 7 cups of high quality vanilla ice cream.  

We like our ice cream homemade, so I'll continue...

Peanut Butter Ice Cream


4 large eggs
1 1/2 cups (300 grams) granulated sugar
4 cups heavy or whipping cream
2 cups milk
4 tsp pure vanilla extract
1 1/4 cups (320 grams) Adam's natural creamy peanut butter

In the bowl of a stand mixer, fitted with the whisk attachment, whisk eggs and sugar until light and fluffy.  

In a large saucepan over medium heat, combine the milk and half of the heavy cream (2 cups).  Heat the milk mixture until it begins to foam around the edges, about 140 degrees.  With the mixer on low speed, very slowly pour about a cup of the heated mixture into the eggs/sugar to temper the eggs.  Wait a few seconds and then pour in about another cup, very slowly.

Pour the entire egg/sugar mixture into the saucepan with the remaining milk and cream.  Heat slowly to 160 degrees.  

Remove from heat.  Pour through a fine mesh strainer into a clean bowl.  Set the bowl in the prepared ice water bath.  Add the remaining cream (2 cups) and vanilla.  Stir occasionally to help it cool faster.  
Refrigerate until cold.

You'll mix the peanut butter into the ice cream during the last five minutes that the ice cream is churning in your ice cream maker.   


But for now, let's make the crust...

Black Bottom Crust


1/2 cup unsalted butter
8 ounces bittersweet or semi-sweet chocolate
13.5 ounces (1 1/2 packages) of Nabisco's Famous Chocolate Wafers (about 61 wafer cookies)

Over low heat, melt the butter and chocolate in a heavy saucepan.  In a food processor, finely grind the wafer cookies.  Add the warm chocolate mixture.  Blend until the crumbs are just moistened.  Set aside 1 cup of the crumb mixture.  

Press remaining crumb mixture onto the sides and the bottom of a 9-inch springform pan with 2 3/4 inch high sides.  Freeze.


Back to the Ice Cream:


Now is the time to churn the ice cream.  (Or soften your store-bought vanilla ice cream.  Once it's soft, using your stand mixer, mix in the peanut butter.)  

Pour half of the ice cream base into your ice cream machine and let it churn until it's almost ready.  About 20 minutes.  Add half of the peanut butter (160 grams) and continue churning for five minutes.

(This cake will come together faster if you have an extra freezer bowl.  But if you only have one freezer bowl, you'll have to wait for your bowl to freeze again before you can make the next layer of your cake.)


Assembling the cake:


1 (12 oz) bag of mini Reese's Peanut butter cups
8 regular sized Reese's Peanut butter cups, for garnish (optional)

Chop the mini Reese's cups and place them in a bowl in the freezer.

With a small, heart-shaped, cookie cutter, cut hearts out of the regular sized peanut butter cups.  Place them on a plate in the freezer.  Give them about five minutes in the freezer.

Remove the springform pan of crust from the freezer and spread the first batch of peanut butter ice cream on top of it. 

Working very fast, sprinkle the 1 cup of reserved crust mixture over the top of this layer of ice cream.  Then sprinkle the chopped mini peanut butter cups on top of this crust layer.  Freeze for about an hour.

Make your second batch of peanut butter ice cream, in the same way as the first.  When it is finished, spread it on top of the cake as your second layer.  Garnish with your heart-shaped peanut butter cups.  Freeze for about four hours, or overnight. 

For this cake, I decorated with a border of whipped cream and some lines of chocolate ganache.  *Whipped cream does strange things when it's put in the freezer, so if you're serving this to company, decorate it just before serving.*  

Whipping cream

1 1/2 cups of heavy whipping cream
2 heaping tsp of confectioner's sugar
1/2 tsp vanilla

Pour ingredients into a whipped cream dispenser.  Stir until sugar dissolves.  Attach CO2 cartridge and decorate at will.

Ganache 

2 oz of bitttersweet chocolate
1/2 cup of heavy cream (approximately, and you won't use it all)

Heat the cream in a small saucepan over medium heat.  When it comes to a light boil, pour a small amount over the chocolate and stir until smooth.  Pour more cream as needed to make a smooth, pipeable ganache. 


Wednesday, March 12, 2014

Peanut Butter Cup Cake

http://becausechocolate.blogspot.com/p/recipes_9.html?recipe_id=6061263

I put this recipe together in honor of my dad.  He loved Reese's peanut butter cups, as I'm sure most of us do.  After all, it's peanut butter and chocolate.  What's not to love?

This cake tastes like a Reese's peanut butter cup that has been dressed for a black tie event.  It's flavors are sophisticated, but it hasn't lost its nostalgic, childhood familiarity.  It touts two, rich, espresso-spiked, velvety, chocolate layers that are filled and iced with a perfectly balanced peanut butter buttercream--not too salty, not too sweet.  

The icing between the layers is secretly concealing a hefty sprinkling of chopped Reese's peanut butter cups, and the top of the cake is playfully garnished with some halves.  (On special occasions, I buy the large peanut butter cups and use a heart shaped cookie cutter to decorate the top of the cake with Reese's hearts.)


Espresso Spiked Dark Chocolate Cake

(8-inch, two layer cake that serves 12)

2 cups (400 grams) sugar
1 3/4 cups (219 grams) all-purpose flour
3/4 cup (60 grams) Hershey's Special Dark Cocoa powder
1 tsp espresso powder
1 1/2 tsp baking powder
1 1/2 tsp baking soda
1 tsp salt
2 eggs
1 cup milk
1/2 cup vegetable oil
2 tsp vanilla extract
1 cup boiling water

Directions:

Prepare two 8-inch round cake pans.  (I grease the pans with coconut oil, dust them with flour and line the bottoms of the pans with parchment paper.)

Preheat oven to 350 degrees. 

Whisk the first seven ingredients (sugar - salt) in the bowl of a stand mixer.  Add the milk, oil, eggs, and vanilla extract.  Beat for two minutes on medium speed.  Slowly stir in the boiling water.  The batter will be thin. 

Pour the cake batter into two 8-inch round cake pans.  Bake at 350 degrees for aproximately 35 minutes.  I start checking at 30 minutes, but often they aren't done until 40 minutes have passed.  Remove the cakes when a toothpick inserted into the center of each cake comes out clean. 

Let cakes cool for 10 minutes in the pans before removing them to cooling racks to cool completely.  


Peanut Butter Buttercream Icing

(This recipe makes a lot of icing, but I like to have more than enough when it comes to decorating.  You can always freeze the excess for cupcakes later, or cut the recipe by 1/3.)

1 1/2 cups (340 grams) unsalted butter, room temperature
1 1/2 cups (384 grams) Adam's natural creamy peanut butter
4 1/2 cups (540 grams) confectioner's sugar
1/3 - 1/2 cup heavy cream

Directions:

Cream the butter and peanut butter together at medium speed in a stand mixer.

Gradually add the confectioner's sugar and mix until incorporated.

Add 1/3 cup of heavy cream and mix until smooth.  Add more cream until you reach your desired consistency.

Scrape down the sides of the bowl and beat on high speed for a few minutes.  The icing will lighten in color and will become smooth and fluffy.


Assembling the cake


1 (12 oz) bag of mini Reese's Peanut Butter Cups

Directions:

Place one layer of your chocolate cake on the plate you'll be serving the cake on, or on a cake circle placed atop a turn table.  With an off-set spatula, ice the top of the first layer.  Unwrap and chop enough peanut butter cups to generously cover the layer of cake that you just iced. 

Gently place the second layer of cake on top of the first, sandwiching the icing and chopped peanut butter cups in between the layers, then coat the entire cake in a thin layer of icing (crumb coat).  Refrigerate the cake for 15 minutes, and then put the final layer of icing on it.  Smooth the icing with a spatula or an icing smoother

Using a pastry bag, pipe decorative borders with the remaining icing, and then garnish your cake any way you like.  For this cake, I used a Wilton 1M tip for piping the borders, and several Reese's haves for the final touches. 


*Printable Recipe*


**If you're like me, you always end up with more cake than you could possibly eat.  The solution is to cut the remainder of the cake into pieces and individually wrap them in plastic wrap.  Store them in the freezer for up to two months.  This way you always have "emergency cake" on hand.  Yes, cake emergencies happen.  ...more often than you'd think.